A Complete Guide to Guided Notes So You Can Implement Them Tomorrow!
What are guided notes?

You know that moment when you are teaching your heart out and a few students look lost while others are writing so fast their pencil starts to smoke. Guided notes are my favorite way to bring everyone into the learning and keep them there. They make class feel calm, organized, and doable for every student. And yes, they help you keep your authority without sounding like a broken record all day.
Guided notes are teacher-created notes with purposeful blanks, prompts, and visuals that students complete during instruction. The goal is simple. Focus attention on the big ideas, model clear academic language, and give every learner a well-organized study tool that they helped create.
What purpose do they serve?
- Direct attention to what matters most
- Reduce overload so students can listen, think, and discuss
- Capture correct vocabulary and examples in real time
- Create a study tool that supports homework, review, and assessment
- Build a class-wide routine for how to learn from notes
Why guided notes help students
- Access for all. Students who struggle with speed, spelling, or organization still walk away with accurate information.
- Stronger thinking. Strategic blanks require students to process ideas rather than copy paragraphs.
- Better discussion. Prompts and frames give every student an entry point for partner and group talk.
- Less behavior drift. Clear stop-and-write moments keep students with you.
- Built-in review. Notes become flash cards, practice problems, and quick checks without extra prep.
A simple daily routine that works

Use this rhythm and your class will feel tight and calm.
- Set the purpose
One sentence only.
Today we will compare area and perimeter to solve real-world problems. - Distribute and title
Students write the date and the lesson title in the top right corner. You say it and display it. - Teach in short chunks
Ten minutes of new learning. Pause. Students fill in two or three blanks.
Use a quick check.
Thumbs ready. Point to the model that shows the larger area. - Talk to learn
Two-minute partner talk using the frames on the notes.- I noticed that …
- This connects to …
- I disagree because …
- Try it now
One practice item right on the guided notes. Circulate and stamp or initial for completion and accuracy. - Wrap and reflect
Students complete one sentence at the bottom.- The most important idea today was … because …
- Cut and glue with zero chaos
- See the procedures below. Aim for two minutes or less.
- Students immediately begin the exit ticket after cutting, gluing, and cleaning up.
- Store and score
Notes go in the notebook on the right page. Exit ticket is ready for a quick check, stamp, and correction.
Student expectations you can post
- Bring your notebook and pencil every day
- Title and date every page
- Track the speaker and the screen during teach time
- Write in every blank and show your work for any problem
- Use the talk frames during partner time
- Keep notes neat and glued on the correct page
- Use your notes to check homework before you ask for help
I like to teach these expectations like a routine, practice them, and then enforce them the exact same way every day. Calm voice. Same words. Broken record approach.
Procedures for cutting and gluing that take two minutes
Materials
One bin per table with scissors, glue sticks, and two extra copies.
Steps

- Pre-made guided note pages are distributed according to your established classroom routine for passing out papers.
- Desks are clear except for the guided note page and any necessary writing materials (pencils, colored pencils, highlighters)
- Students are ready to learn, and teaching is beginning.
- Follow the instructional routine above.
- Have a signal word or phrase (OK, everyone cut and glue) that signals it is time to put the notes away correctly.
- Students have a notebook – one per subject- for guided notes. No pages are torn out of these notebooks for other purposes.
- Use small dots of glue in the corners. The dots should be the size of a piece of rice. You will have to model and practice this for several days at the beginning of the year.
- Place the page on the next blank page in the notebook. Press and smooth.
- Title and date the page in the top right corner.
- Cap the glue and return scissors to the bin. Recycle scraps.
- Immediately begin working on the exit slip. (See Exit Slip Blog Post HERE)
- After the Exit Slip procedure, the students are ready to work independently. No one should ask a question of the teachers without being able to show where they looked in thier notes first!
Teacher moves
- Start a visible two-minute timer.
- Praise the first group that finishes correctly and quietly.
- If a student is not done, they finish while others start the warm-up.
- If glue becomes a toy, the student must redo the page and glue it in the notebook correctly. A sloppy glue mess will ruin the entire notebook.
Discussion inside guided notes
Quick frames to post in the classroom. The information in the guided notes should be the source of information for any Math Talk conversation. Click HERE for Math Talk resources.
- I think the answer is ___ because ___.
- I noticed ___ and that tells me ___.
- Another way to see this is ___.
- I changed my mind when ___.
- My partner said ___ which connects to ___.
- One question I still have is ___.
Keep talk windows short. Two minutes is perfect. Call on two pairs to share. Move on.
How to set expectations and enforce them without drama
Teach it
Model each step. Then ask three students to model. Then the whole class tries it in thirty seconds.
Post it
Keep a small anchor chart of the routine where students can see it. Point to it rather than re-explaining.
Check it
During pauses, scan for four things. Title, date, blanks filled, neat glue. Stamp or initial as you walk.
Hold it
- Missing title or date. The student fixes it during the next transition.
- Blanks left empty. Student completes them before leaving class.
- Messy or loose page. Student re-glues after school or during work time with a spare copy.
- Repeated misses. Quiet conversation and a quick note home that explains the routine and how we will help.
Protect learning time
Use private reminders and keep instruction moving. Save coaching for the next transition.
Troubleshooting
- Slow cutters. Pre cut for a few students or use a single fold insert that needs one strip of glue.
- Chronic forgetter of notebook. Keep two spare folders and move the pages into the notebook on Friday.
- Absent students. Store extras in a labeled tray. A student helper keeps a running list so makeup is simple.
- Early finishers. Post a challenge problem on the board for students to work through as a review, extension, or challenge.
A five-minute launch plan for tomorrow
- Print one set of guided notes for your next lesson. Use a topic that the students are familiar with or where the lesson can be short. You are focused on the process, not the content.
- Place scissors, glue, and two extra copies in each table bin
- Write the routine on the board or on an anchor chart in four steps
- Decide your first talk prompt and your one practice item
- Plan what you will stamp for completion
Guided notes do not make you less rigorous. They make your teaching clearer and your expectations stronger. Most of all, they give every student a fair shot at real learning. If you want ready-to-print sets, I have them in Kile’s Classroom, but you can also start with a simple page you make today. Try it once. You will feel the difference. Your students will too.
Make your class notes shine with AI
Copy and paste this prompt into your favorite AI tool to create quick notes for your class.
Act as an experienced [enter grade level here] teacher. Create a one-page guided notes activity for [grade] [subject] on [topic].
Objective: [write a clear objective students can read aloud].
Use friendly academic language. Include these sections in order:
1) Title and date line
2) Learn it box with three short key ideas that include purposeful blanks for the most important words and numbers
3) Model it box with one worked example that shows the thinking in steps
4) Try it box with three practice items and space to show work
5) Talk to learn box with three sentence frames that begin with I think, I noticed, I can connect
6) Reflect box with one sentence starter The most important idea today was
Design rules:
- Short sentences and simple words
- Eight to fourteen blanks total
- Clear labels and generous white space
- No long paragraphs
Return the student page first. Then return an answer key that fills every blank and adds one teacher tip for the most common error in each section.
No time to do the work or create your own notes, no problem!
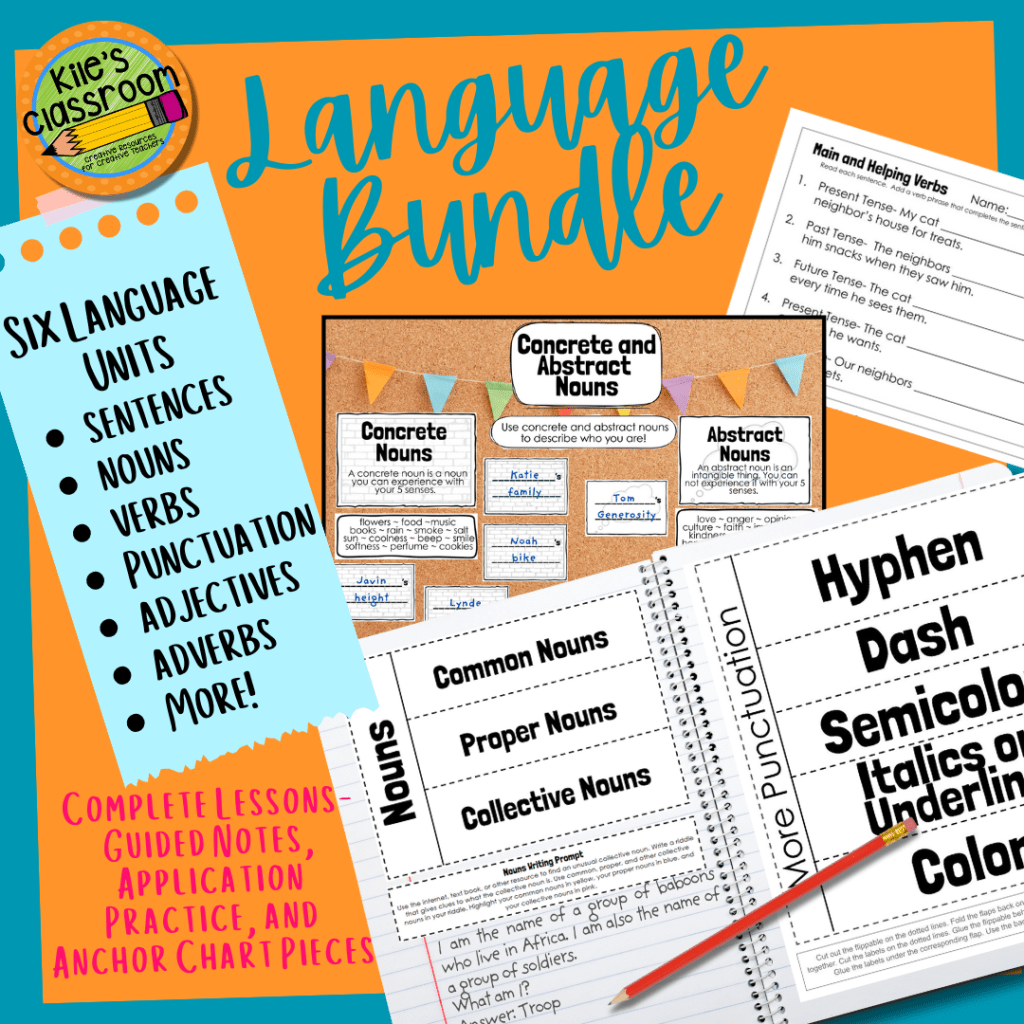
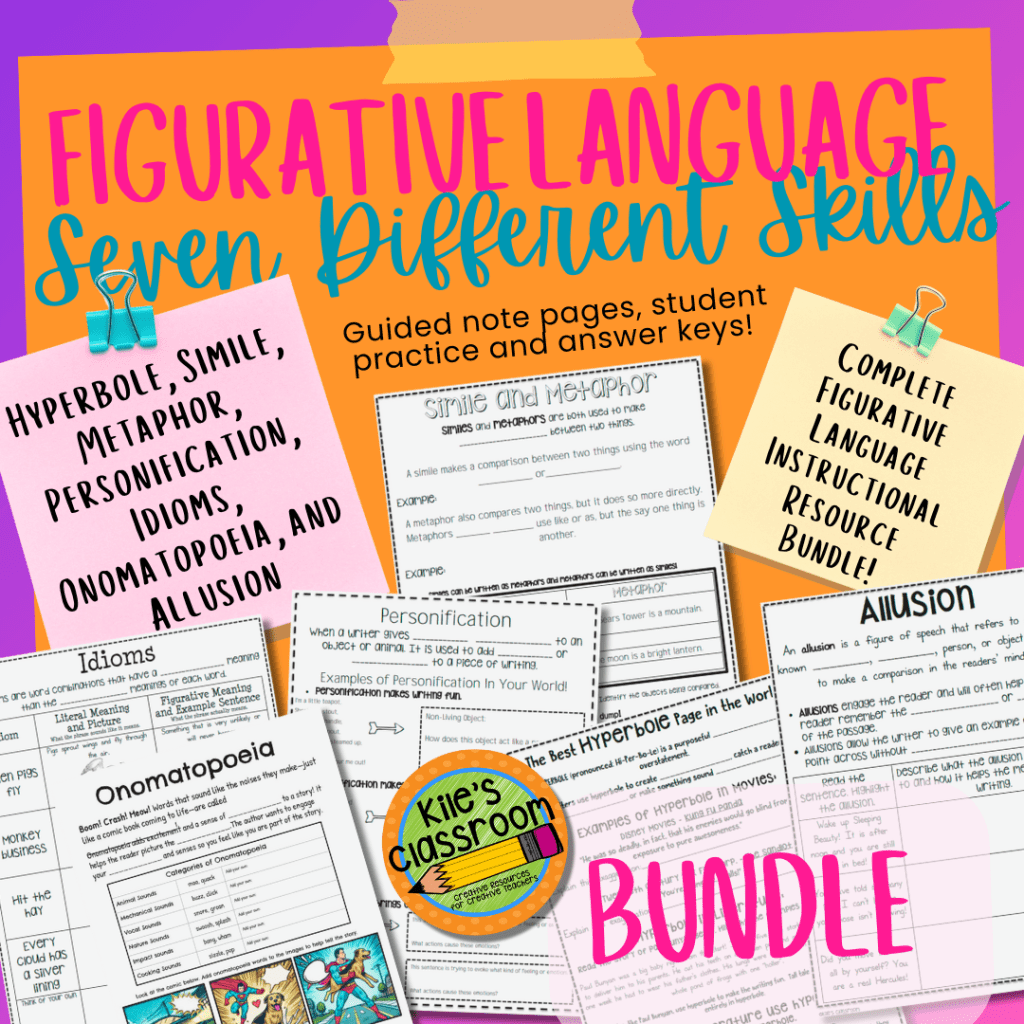
Check out all the premade topics available at Kile’s Classroom! Everything you need is included: guided notes, exit slips, and student practice pages!